How to Effectively Clean Grout for Pristine Tiles
Grout might not be the star of your tile installations, but it undoubtedly plays a crucial role in keeping your home looking its best. Over time, dirt, mildew, and unsightly stains can mar even the most beautiful tiles, making your space feel less welcoming than it should. Although it's often overlooked, maintaining clean grout isn't just about appearances—it's essential for your health as well. So, if you’ve grown weary of looking at grimy grout lines and are on a quest to restore their sparkle, you’ve come to the right place!
In this comprehensive guide, we’ll walk you through the essential steps for effectively cleaning grout, helping you revive that fresh, vibrant look in your home. Plus, we’ll share handy tips to keep your grout looking new for longer—because a little effort now can save you time later.
Step 1: Gather Your Cleaning Supplies
Before you dive into this cleaning project, it’s important to gather all the right tools and materials. Here’s a quick list to get you started:
Essential Tools
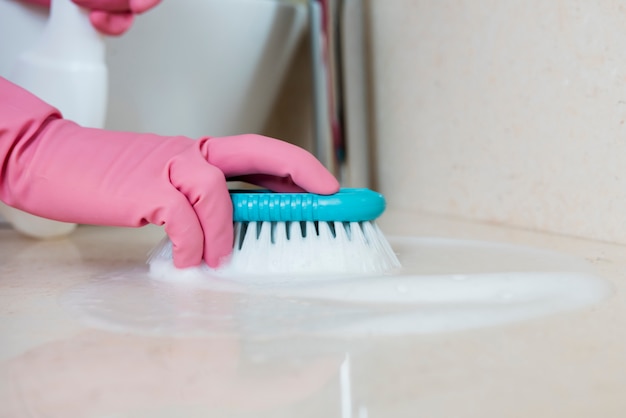
- Grout Brush: This specialized brush features stiff bristles, perfect for scrubbing away stubborn stains and dirt from grout lines.
- Sponge: You’ll need this for rinsing and applying your cleaning solution.
- Bucket: A bucket will come in handy for mixing your cleaning solution and holding water.
- Vacuum: Begin by removing dirt and dust with a vacuum to set a clean foundation for your grout cleaning.
Cleaning Solutions
When it comes to cleaning grout, you have options! You can choose store-bought solutions or whip up your own DIY cleaner:
- Store-Bought Grout Cleaner: You can find various options at most home improvement stores. Just make sure to pick one that specifies it’s safe for the type of grout you have.
- DIY Grout Cleaner:
- ¾ cup baking soda
- ¼ cup hydrogen peroxide
- 1 tablespoon of mild dish soap
Step 2: Prepare the Area
Preparation is key to ensuring your cleaning process is efficient and effective. Start by removing any items from the tiled surface that could get in your way—think pots, rugs, or furniture.
Next, take a moment to sweep or vacuum the area. This step is crucial as it prevents loose dirt from turning into a muddy mess while you clean, which can make your efforts less effective.
Step 3: Apply the Cleaner
Once you’ve prepared the area, it’s time to apply the cleaner.
Using Store-Bought Cleaner
- Always follow the manufacturer's instructions for the best results.
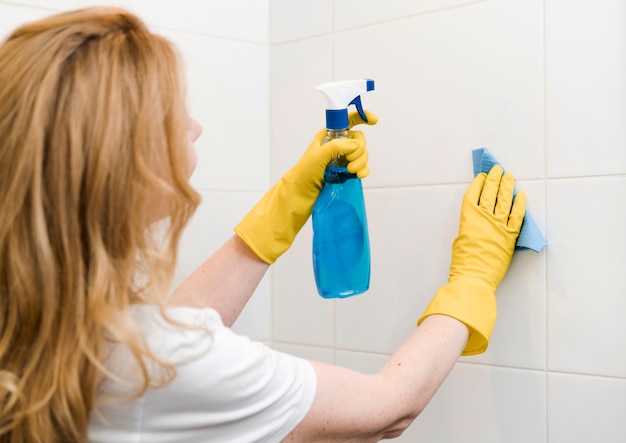
- Typically, you’ll spray or apply the cleaner directly onto the grout lines and allow it to sit for the time specified on the label.
DIY Mixture Application
For those opting for the DIY method:
- Grab your grout brush and dip it in the baking soda paste, then apply it liberally to the grout lines, ensuring even coverage.
- Don’t be shy—press down firmly to let the mixture work its magic into the grout.
Step 4: Scrub the Grout
With your cleaner applied, it’s time to roll up your sleeves and start scrubbing! Use your grout brush to work the cleaning solution deep into the grout lines.
Scrubbing Technique
- Circular Motions: Scrub in circular motions to help the cleaner penetrate and lift the stains effectively.
- Focus on Stains: Spend a little extra time on heavily stained areas. They might take a bit more elbow grease to get back to their original state.
Tips for Tough Stains
If you come across stubborn stains that refuse to budge, consider letting the cleaning solution sit for about 5-10 minutes before you scrub it. This little “rest period” allows the cleaning agents to break down the grime more effectively, making your scrubbing efforts much easier.
Step 5: Rinse the Area
After scrubbing, rinsing off the cleaner is vital to prevent any residue from building up.
Grab a clean sponge and a bucket of warm water, then wipe down the grout lines thoroughly.
- Change the water when it becomes dirty to ensure you’re effectively removing both the cleaning solution and any dirt.
Step 6: Dry the Grout
Drying the grout is an essential step in preventing mold and mildew growth, which can lead to health issues and unpleasant odors.
Quick Drying Techniques
- Use a clean, dry towel to wipe down the edges of the tiled area.
- If you can, turn on a fan or open windows to increase airflow and speed up the drying process.
Maintenance Tips for Long-Lasting Clean Grout
Congratulations! You've just cleaned your grout. To keep it looking fresh and pristine, consider these practical maintenance tips:
Create a Regular Cleaning Schedule
Create a cleaning routine—whether weekly or bi-weekly—to maintain the cleanliness of your grout. Incorporate grout cleaning into your regular chores to keep buildup at bay.
Use a Grout Sealant
Applying a grout sealant after your cleaning session can work wonders for protecting against future stains. The sealant forms a barrier, making it harder for dirt and spills to penetrate the grout lines, which can save you time and effort down the road.

Final Thoughts
A clean grout not only enhances the visual appeal of your home but also contributes to a healthier living environment. Taking time to care for your grout is indeed an investment worth making for both aesthetics and hygiene.
At TaskOpus, we understand how challenging it can be to maintain a clean and safe home, especially with busy schedules. Our professional cleaning services cover everything from tile and grout cleaning to deep sanitization, ensuring your space is not just visually appealing but also a healthy sanctuary for you and your family. Experience the difference with TaskOpus and enjoy a cleaner, more comfortable home today!