Transform Your Kitchen: A Step-by-Step Deep Cleaning Guide
Your kitchen is the heart of your home, a bustling space where meals are prepared, and memories are made. But amidst the daily hustle, it’s easy for grime and clutter to accumulate, making it less of a haven and more of a chore. If you’ve been putting off that thorough clean-up, this guide will walk you through the process of deep cleaning your kitchen—top to bottom—with ease and efficiency. Ready to make your kitchen sparkle like new? Let’s dive in!

Why Deep Cleaning Your Kitchen Matters
A deep-cleaned kitchen is not just about aesthetics. It promotes better hygiene, reduces the risk of pests, and ensures your appliances work efficiently. Plus, it’s a refreshing way to reset your space, leaving you inspired to cook more and enjoy your time in the kitchen.
What You’ll Need for a Thorough Kitchen Cleaning
Before you start, gather these essential supplies:
Micro-fiber cloths and sponges
All-purpose cleaner and disinfectant
Baking soda and white vinegar
Glass cleaner
Dish soap
Scrub brush and toothbrush
Mop and bucket
Garbage bags
Having everything on hand will make the process smoother and more productive.
Step 1: Clear the Clutter
Start by decluttering. Remove items from your countertops, cabinets, and pantry. Sort them into three categories:
Keep: Items you use regularly.
Donate: Non-perishable food or utensils you no longer need.
Discard: Expired food and damaged items.
This step clears your workspace and helps you focus on cleaning each area thoroughly.
Step 2: Dust and Vacuum High Surfaces
Work from the top down to avoid re-soiling cleaned areas. Use a duster or vacuum to tackle:
Ceiling corners and light fixtures
Tops of cabinets
Vents and exhaust fans
For greasy residue on light fixtures or fans, use a mixture of warm water and dish soap.
Step 3: Clean the Walls and Backsplash
Kitchen walls and backsplashes often collect splatters and grease. Wipe them down with a sponge soaked in warm soapy water or an all-purpose cleaner. For stubborn stains, a paste made of baking soda and water works wonders.
Step 4: Focus on Cabinets and Drawers
Empty: Remove everything from your cabinets and drawers.
Wipe: Use a microfiber cloth and mild cleaner to wipe down both the interiors and exteriors. Pay special attention to handles and edges.
Organize: Replace items neatly, grouping similar items together for easy access.
Step 5: Scrub Down Appliances
Your appliances do a lot of heavy lifting. Here’s how to give them the care they deserve:
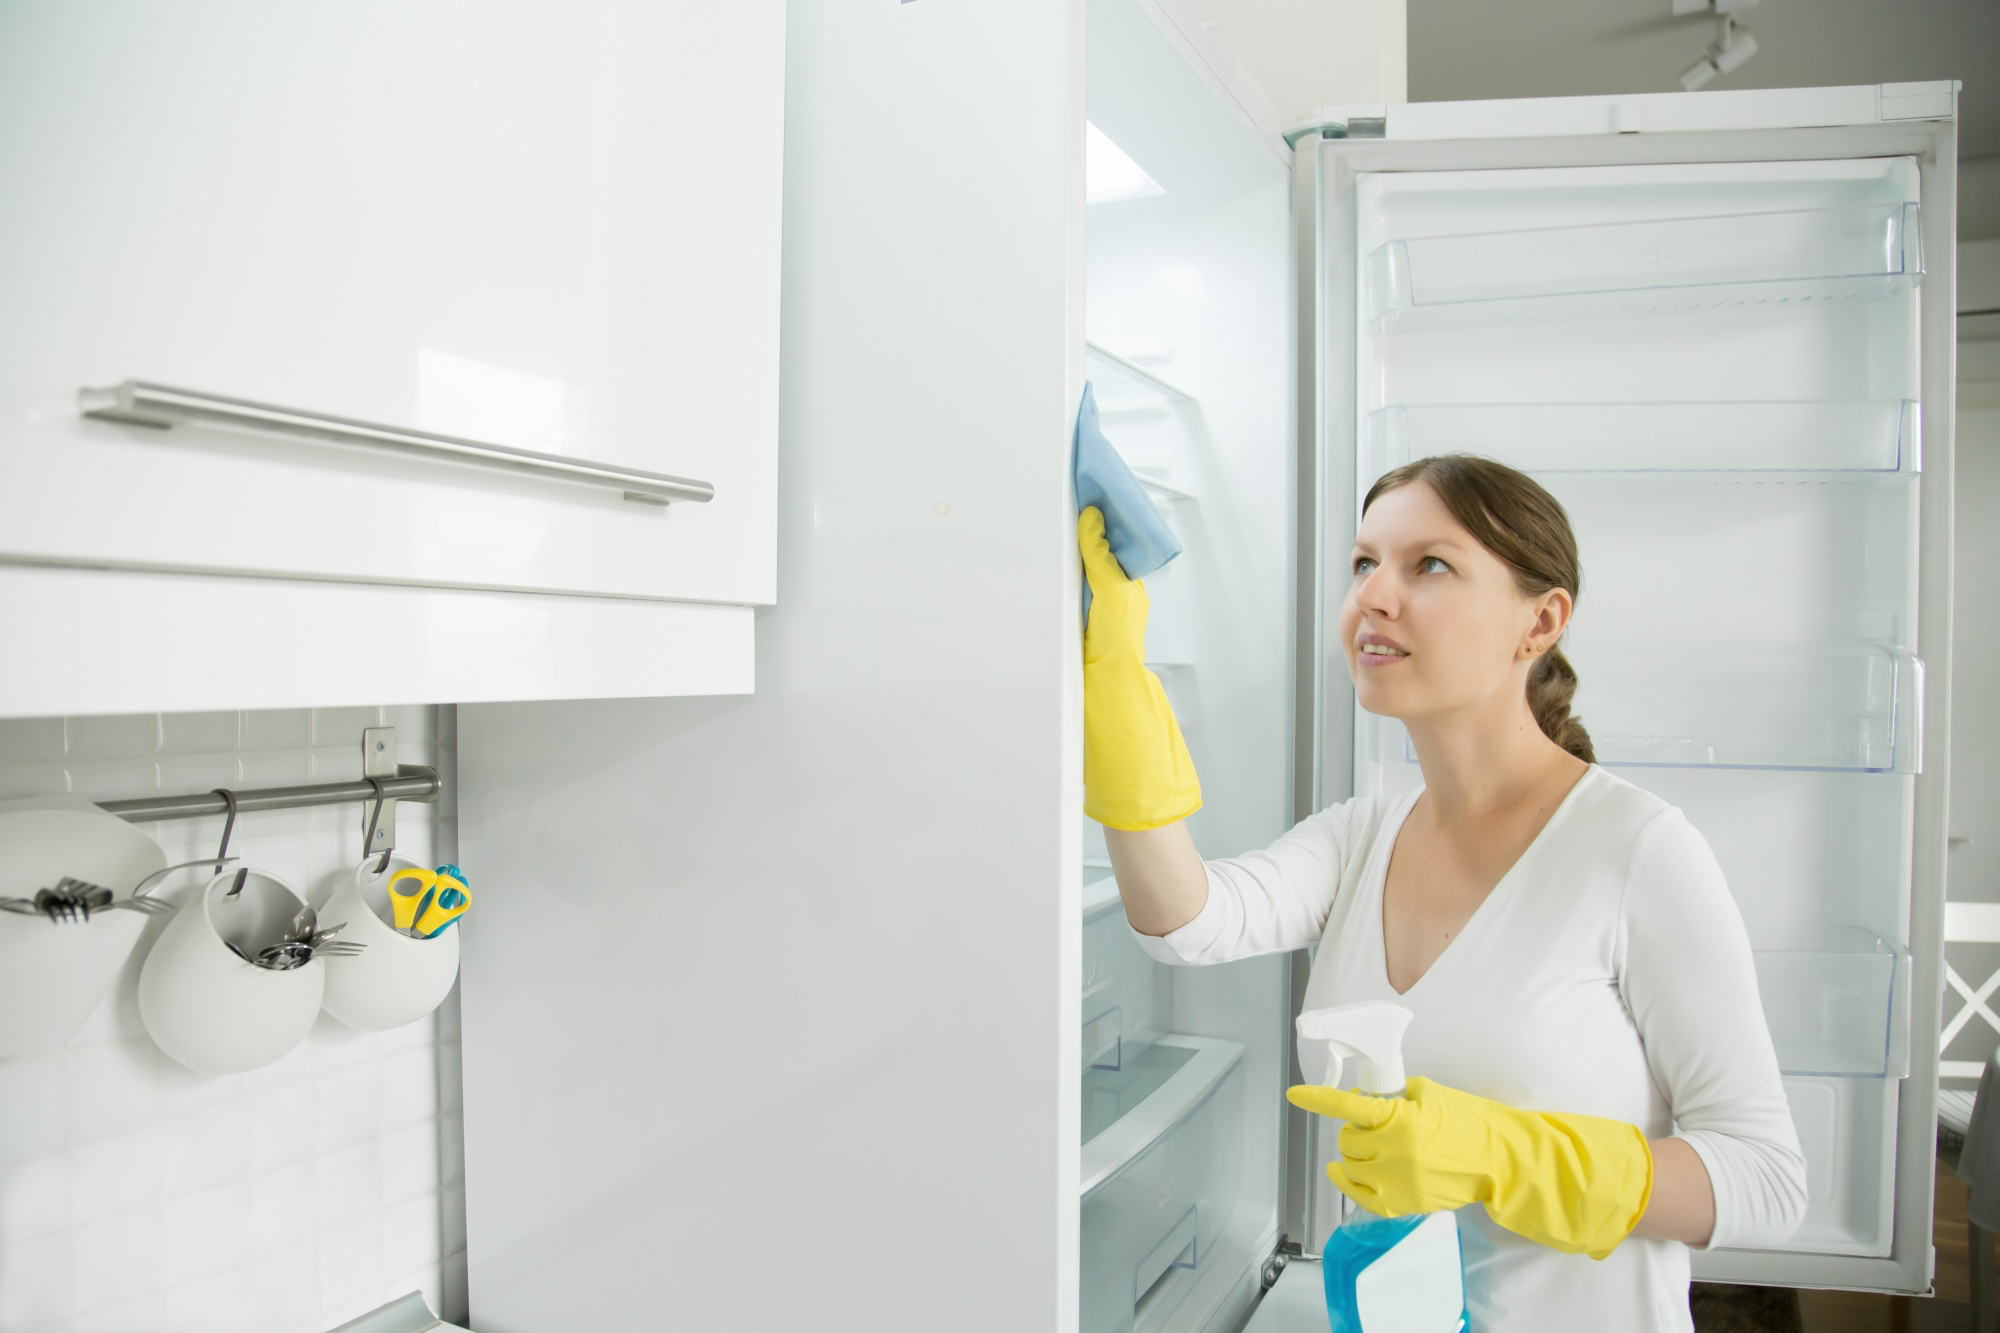
Refrigerator
Empty it out, discarding expired food.
Remove shelves and drawers, and wash them with warm soapy water.
Wipe the interior with a mixture of water and white vinegar.
Don’t forget to clean the exterior, especially the handles and door seals.
For a deep Cleaning of Refrigerator, Click here.

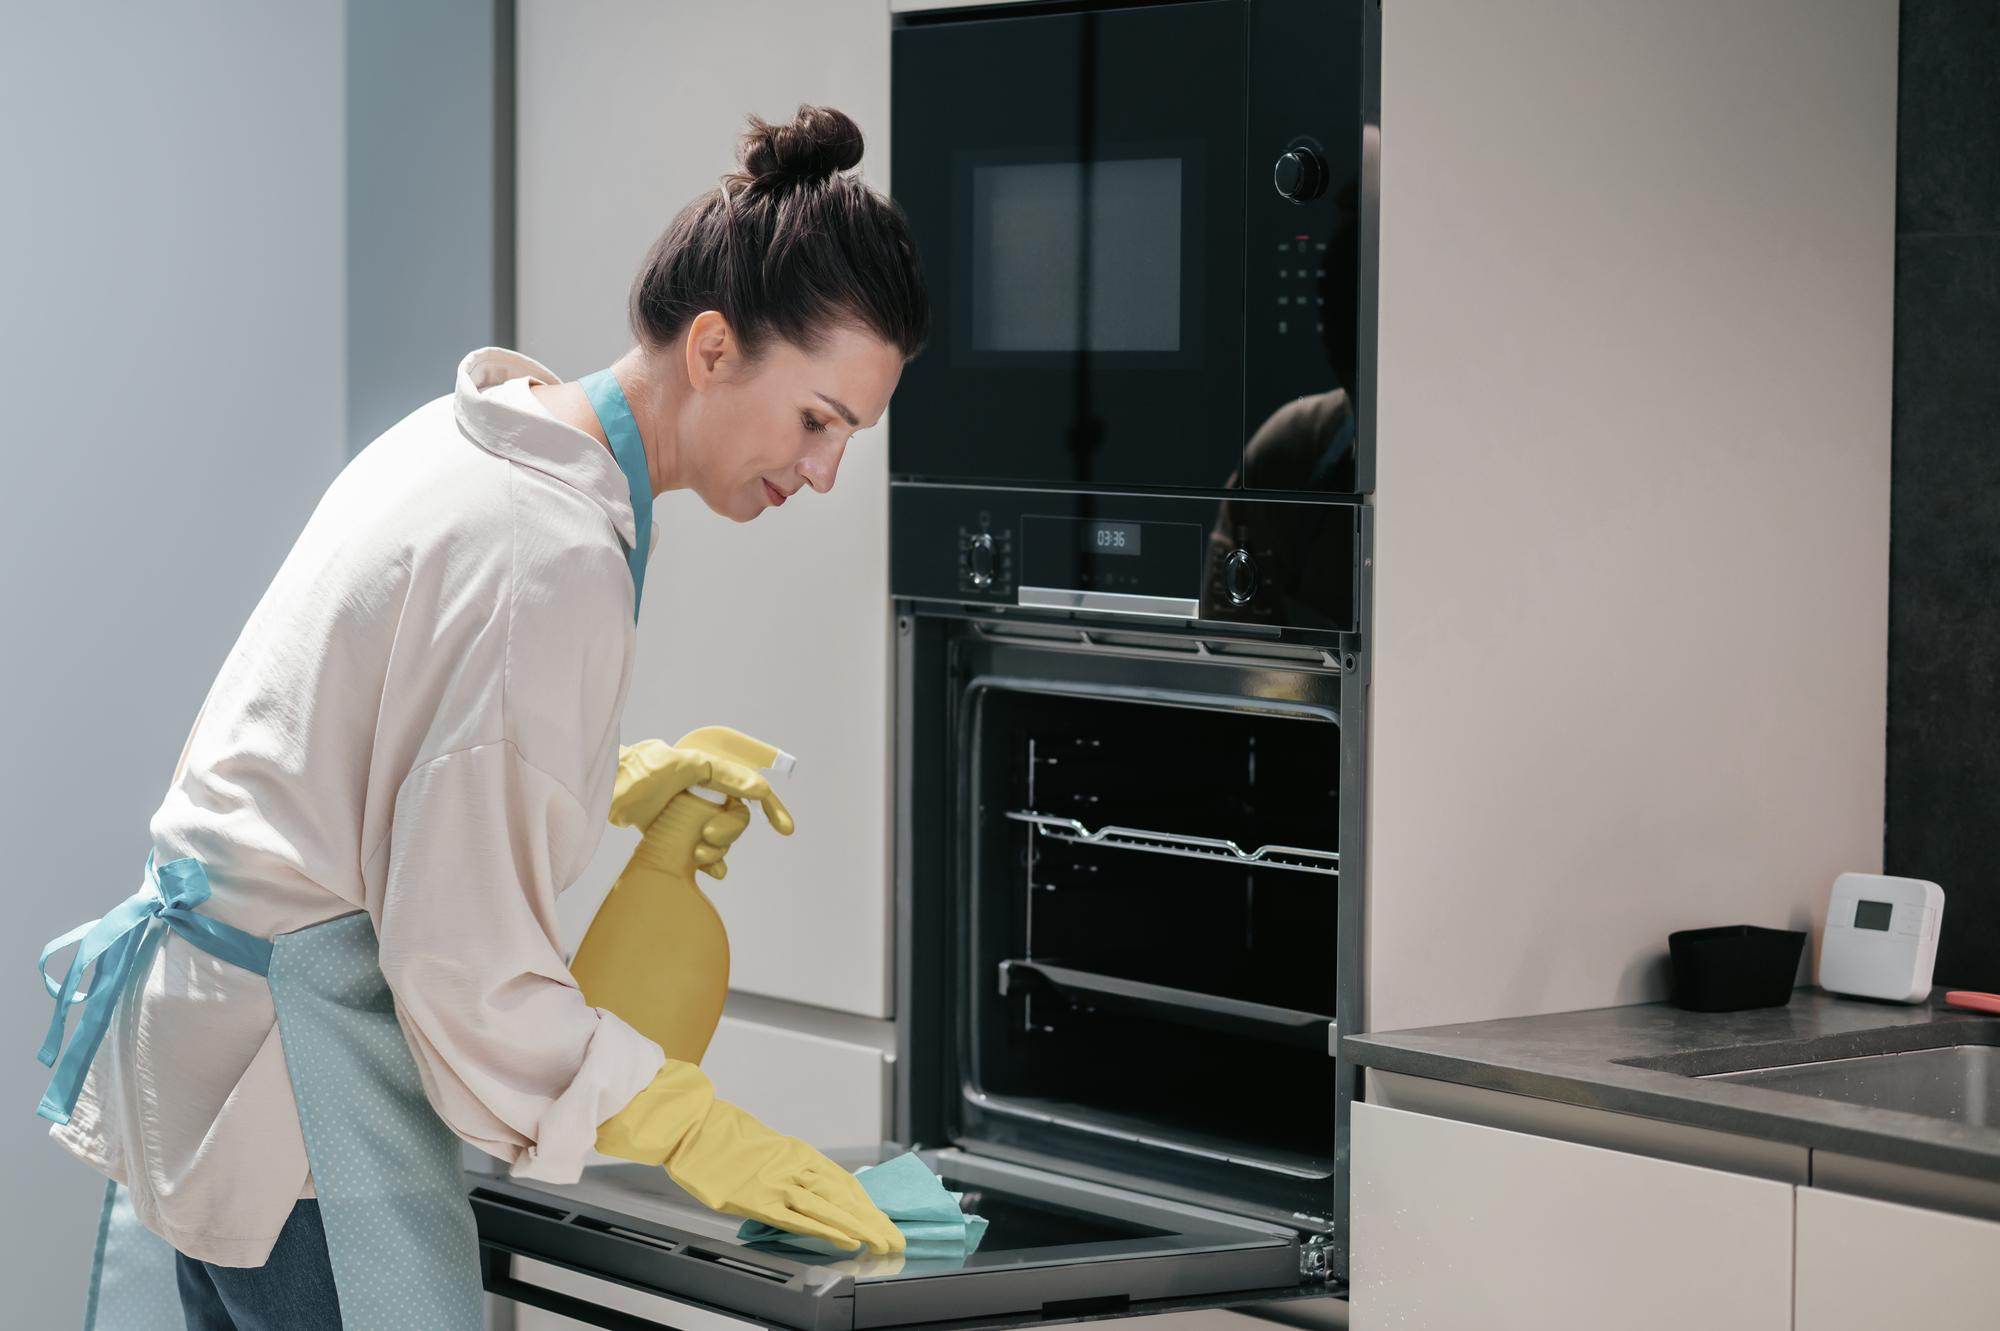
Oven and Stove
Use a commercial oven cleaner or a baking soda paste for the oven interior.
Remove burners and grates from the stovetop and soak them in warm soapy water.
Scrub the stovetop surface and knobs.
For a deep Cleaning of Oven, click here.

Microwave
Heat a bowl of water with lemon slices for 2-3 minutes to loosen grime.
Wipe the interior with a damp cloth.
Clean the exterior, focusing on the keypad and handle.
Dishwasher
Remove the filter and rinse it.
Run a cleaning cycle with a dishwasher-safe cleaner or a cup of white vinegar.
Step 6: Deep Clean the Sink and Faucet
Your sink is a hotspot for bacteria, so it’s crucial to clean it thoroughly:
Sprinkle baking soda over the sink and scrub with a sponge.
Rinse with white vinegar to disinfect.
Clean the faucet and handles with an all-purpose cleaner or soapy water.
Don’t forget to shine your sink with a stainless-steel cleaner if applicable.
To know more about deep cleaning kitchen sink and drain, click here.
Step 7: Tackle Countertops and Cutting Boards
Countertops often bear the brunt of kitchen activities. Clean them with a suitable surface cleaner based on their material (e.g., granite, quartz, or laminate). For cutting boards, sprinkle with coarse salt and rub with a cut lemon to remove stains and odors.
Step 8: Sweep and Mop the Floors
Save the floors for last to capture any debris from your cleaning efforts:
Sweep thoroughly, paying attention to corners and under appliances.
Mop with a mixture of warm water and a mild floor cleaner.
Allow the floor to air-dry or wipe with a dry microfiber mop.
Step 9: Freshen the Air
After cleaning, ensure your kitchen smells as good as it looks:
Simmer a pot of water with Apple slices, citrus peels, cinnamon sticks, or cloves.
Use a natural air freshener or essential oil diffuser.

Pro Tips for Maintaining a Clean Kitchen
Daily Maintenance: Wipe down countertops and sweep the floor daily to prevent buildup.
Weekly Tasks: Dedicate time each week to clean appliances, sinks, and high-touch areas.
Monthly Checks: Inspect your pantry and fridge for expired items.
Final Thoughts
Deep cleaning your kitchen doesn’t have to be overwhelming. By following this step-by-step guide, you can transform your space into a sparkling, hygienic haven. Not only will your kitchen look fantastic, but you’ll also feel a sense of accomplishment every time you step into it.
However, if you’re short on time or simply want to relax, TaskOpus’ professional cleaning services can handle it all for you. Our experts specialize in deep kitchen cleaning, ensuring every nook and cranny is spotless and exactly the way you want it. Sit back, unwind, and let TaskOpus make your kitchen shine while you enjoy your well-deserved break!

